
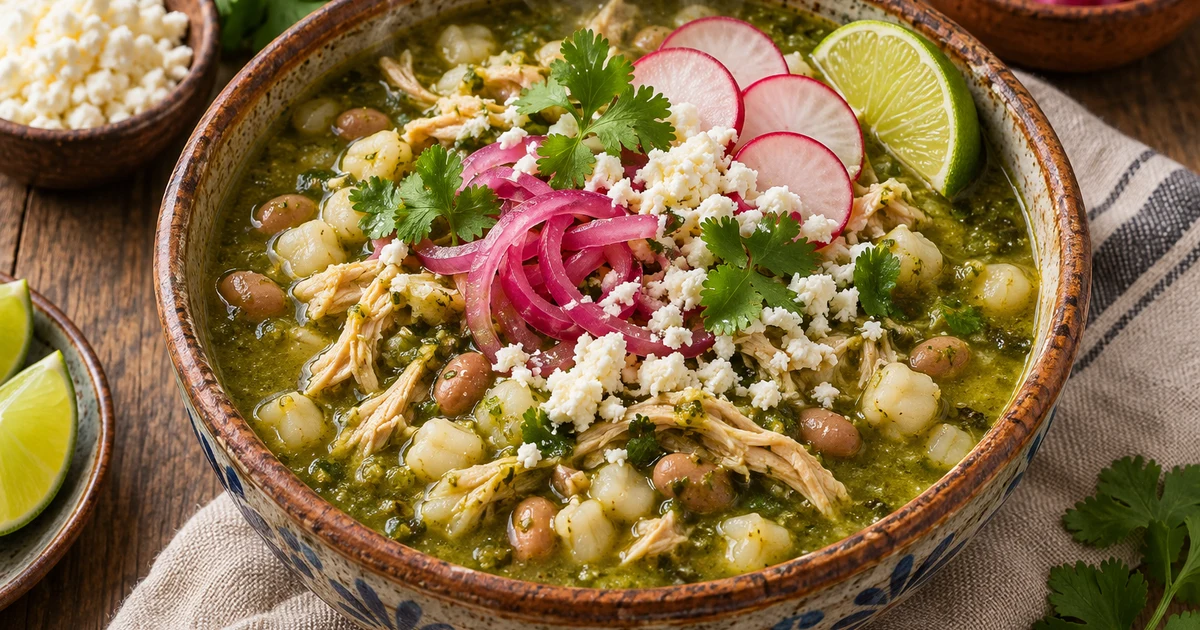
This lighter green pozole builds a deeply flavorful broth from charred tomatillos, poblanos, onion, and garlic. Shredded chicken, hominy, and pinto beans make it hearty, while queso fresco, radishes, cilantro, pickled onions, and lime add a fresh finish.
THE RECIPE
Pozole with Pinto Beans and Queso Fresco
Prep20 min
Cook35 min
Total55 min
Serves4–6
Ingredients
Instructions
- Position an oven rack close to the broiler and preheat the broiler to high. Line a rimmed baking sheet with foil.
- Mix the oil, chili powder, 2 teaspoons salt, and 1 teaspoon black pepper in a small bowl. Arrange the tomatillos, poblanos, onion, and garlic on the baking sheet and rub with the seasoned oil.
- Broil, turning once, until the vegetables are browned, lightly charred, and easily pierced, 13 to 15 minutes.
- Transfer the roasted vegetables and their juices to a blender. Purée until completely smooth, then pour into a large soup pot and stir in the chicken stock.
- Cover and bring to a boil over high heat. Reduce to a simmer and add the chicken, hominy, and pinto beans. Cook until everything is hot, 5 to 7 minutes.
- Stir in the lime juice, sugar, remaining 1 teaspoon salt, and remaining ¼ teaspoon black pepper. Taste and adjust the seasoning.
- Serve topped with queso fresco, radishes, cilantro, pickled red onions, and lime wedges.
Tips and Storage
- A little char on the vegetables adds smoky depth to the green broth.
- Use rotisserie chicken and store-bought stock for a faster version.
- Refrigerate the soup for up to 4 days or freeze it without the toppings for up to 3 months.
- Keep the queso fresco, radishes, cilantro, and pickled onions separate until serving.
Recipe adapted from the cookbook page supplied by the site owner; directions rewritten with AI assistance. Featured image: AI-generated food photography.