
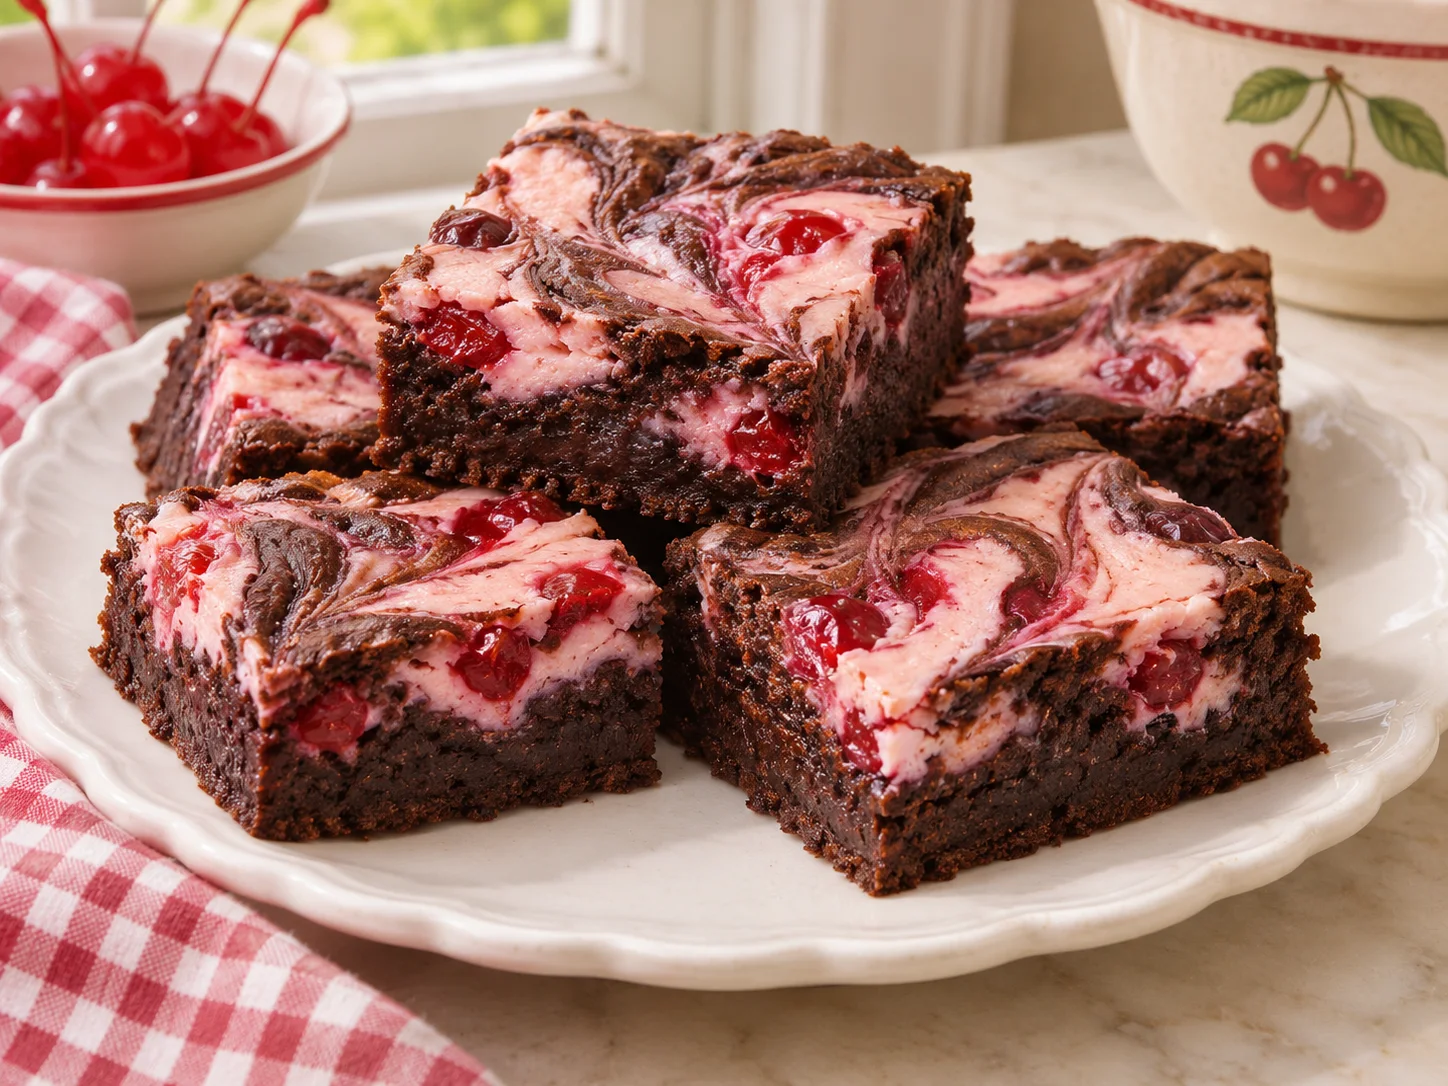
Cocoa brownies swirled with a creamy cherry and cream cheese filling, with almond and vanilla for a classic flavor. Makes about 16 brownies.
A creamy cherry layer runs through these cocoa brownies in a pretty marbled swirl. The filling combines cream cheese, maraschino cherries, vanilla, and almond extract.
Helpful Tips
- Drain the maraschino cherries well before chopping so the filling does not become watery.
- Use a light hand when swirling to keep the chocolate and cherry layers distinct.
- Refrigerate leftovers, then let them warm to room temperature before serving.
THE RECIPE
Marbled Cherry Brownies
Prep25 min
Bake35–40 min
TotalAbout 2 hr
YieldAbout 16 brownies
Ingredients
Instructions
- Prepare the cherry cream filling: beat the cream cheese and sugar in a small bowl on medium speed until blended. Add the egg, vanilla, and almond extract; beat well. The mixture will be thin. Stir in the well-drained cherries and food color, if desired. Set aside. Heat the oven to 350°F (175°C) and grease a 9-inch square baking pan.
- Stir the melted butter and cocoa together in a small bowl until blended. In a medium bowl, beat the eggs until foamy. Gradually add the sugar and vanilla, beating until blended. Stir together the flour, baking powder, and salt; add to the egg mixture. Add the cocoa mixture and stir until blended.
- Spread half the chocolate batter in the prepared pan and cover with the cherry filling. Drop teaspoonfuls of the remaining chocolate batter over the filling. With a knife or spatula, gently swirl the chocolate batter into the filling to create a marbled effect.
- Bake for 35 to 40 minutes, or until the brownies begin to pull away from the sides of the pan. Cool, then cut into squares. Cover and refrigerate leftover brownies; bring them to room temperature before serving.
Frequently Asked Questions
Do the brownies need refrigeration?
Yes. Cover and refrigerate leftovers because the marbled filling contains cream cheese.
How do I make the marbled pattern?
Dollop the remaining brownie batter over the filling and gently swirl it with a knife or spatula.
Recipe adapted from vintage cookbook pages supplied by the site owner; wording clarified for readability with AI assistance. Featured image: AI-generated food photography.