
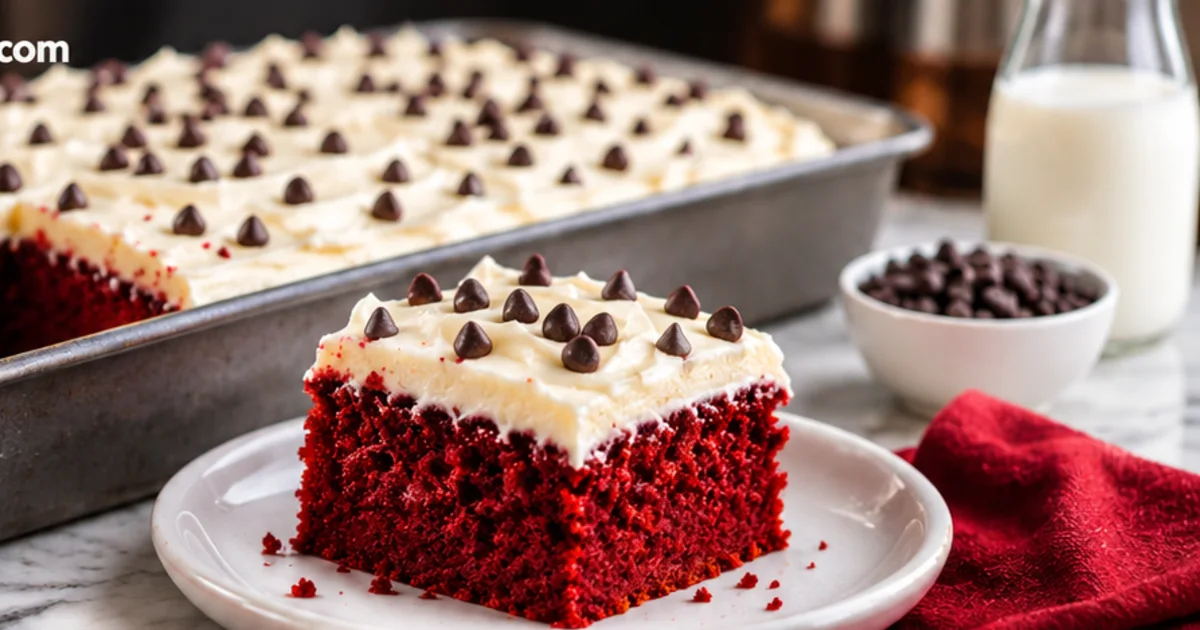
This classic red velvet sheet cake is moist, tender, and gently chocolatey. Buttermilk, cocoa, and a splash of vinegar give the crumb its signature texture, while vanilla frosting and miniature chocolate chips make the finish easy and festive.
Baked in a 13×9-inch pan, it serves a crowd without complicated layering—perfect for birthdays, holidays, potlucks, or any special occasion.
THE RECIPE
Hershey’s Red Velvet Cake
Prep20 min
Bake30–35 min
Cool1 hr
Yield15 servings
Ingredients
Instructions
- Heat the oven to 350°F (175°C). Grease and flour a 13×9×2-inch baking pan.
- Beat the softened butter and sugar in a large bowl until light and fluffy. Add the eggs and vanilla and beat well.
- Stir together the buttermilk and red food coloring. In another bowl, whisk together the flour, cocoa, and salt.
- Add the dry mixture to the butter mixture alternately with the buttermilk mixture, mixing just until combined.
- Stir in the baking soda and vinegar—the batter may bubble slightly. Pour into the prepared pan.
- Bake for 30 to 35 minutes, or until a wooden pick inserted in the center comes out clean.
- Cool completely in the pan on a wire rack. Frost with vanilla frosting and garnish with Mini Chips, if desired.
Recipe Notes
- To make sour milk, add 1 tablespoon white vinegar to a measuring cup, then add milk to make 1 cup.
- Use room-temperature butter and eggs for a smoother, fluffier batter.
- Do not overmix once the flour is added; this helps keep the cake tender.
- The batter can also be baked in two 9-inch round pans at 350°F for 30 to 35 minutes.
- Store covered at room temperature for up to 3 days, or refrigerate for up to 5 days.
Recipe adapted from the vintage Hershey’s cookbook page supplied by the site owner; directions rewritten for clarity with AI assistance. Featured image: AI-generated food photography.