
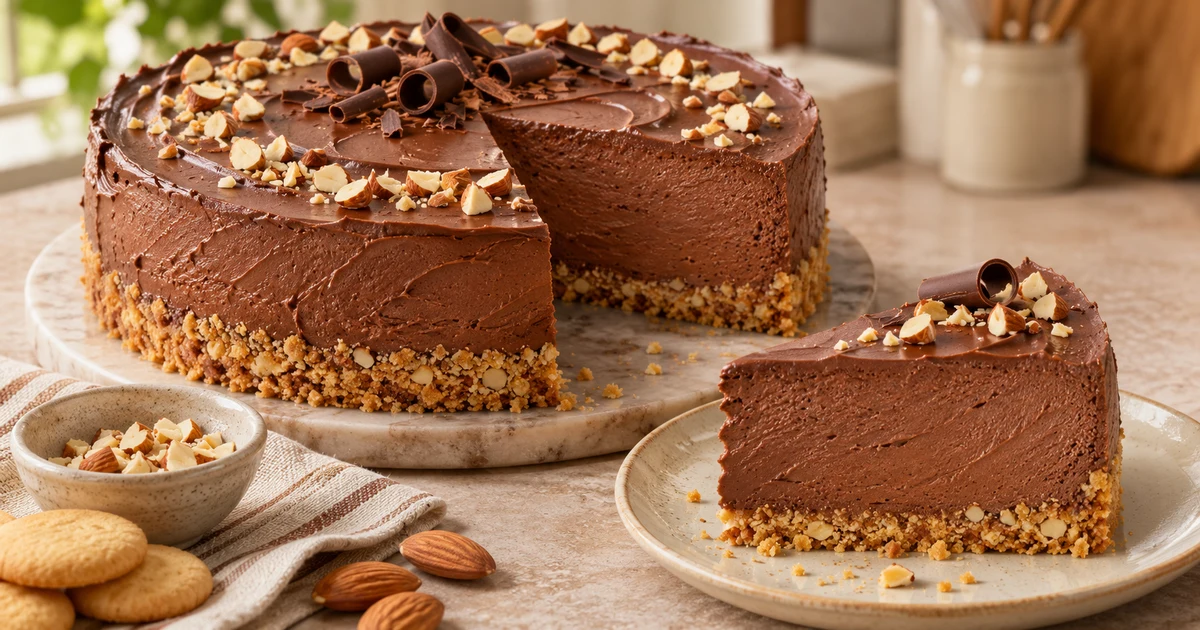
This Easy Rich No-Bake Chocolate Cheesecake has a silky, mousse-like filling made with melted semi-sweet chocolate, cream cheese, and softly folded whipped cream. It is deeply chocolatey without feeling heavy.
The only oven time is for the toasted almond and vanilla-wafer crust. Once the crust cools, the filling comes together quickly and the refrigerator does the rest—an elegant make-ahead dessert for any gathering.
THE RECIPE
Easy Rich No-Bake Chocolate Cheesecake
Prep25 min
Bake8–10 min
Chill4 hr
Yield8 servings
For the Chocolate Cheesecake
For the Almond Crumb Crust
Instructions
- Heat the oven to 350°F (175°C). Stir together the chopped almonds, vanilla wafer crumbs, and confectioners’ sugar. Add the melted butter and mix until evenly moistened.
- Press the crumb mixture firmly over the bottom and about 1/2 inch up the side of a 9-inch springform pan. Bake for 8 to 10 minutes, until lightly browned. Cool completely.
- Place the chopped chocolate in a microwave-safe bowl. Microwave on high for 1 to 1 1/2 minutes, stirring every 30 seconds, until smooth. Let cool slightly.
- Beat the softened cream cheese, granulated sugar, softened butter, and vanilla in a large bowl until completely smooth. Beat in the melted chocolate on low speed.
- In a separate chilled bowl, whip the cold cream to stiff peaks. Gently fold the whipped cream into the chocolate mixture until no streaks remain.
- Spoon the filling into the cooled crust and smooth the top. Cover and refrigerate for at least 4 hours, until firm.
- Run a thin knife around the edge, release the springform pan, and slice with a warm, clean knife. Keep leftovers refrigerated.
Recipe Tips
- Cool the crust completely before adding the filling so the whipped cream stays airy.
- Bring the cream cheese and butter fully to room temperature for the smoothest texture.
- Let the melted chocolate cool slightly before beating it into the cream cheese mixture.
- Fold the whipped cream gently, then give the cheesecake the full four-hour chill for clean slices.
Recipe adapted from the vintage Hershey’s cookbook page supplied by the site owner; directions rewritten for clarity with AI assistance. Featured image: AI-generated food photography.