
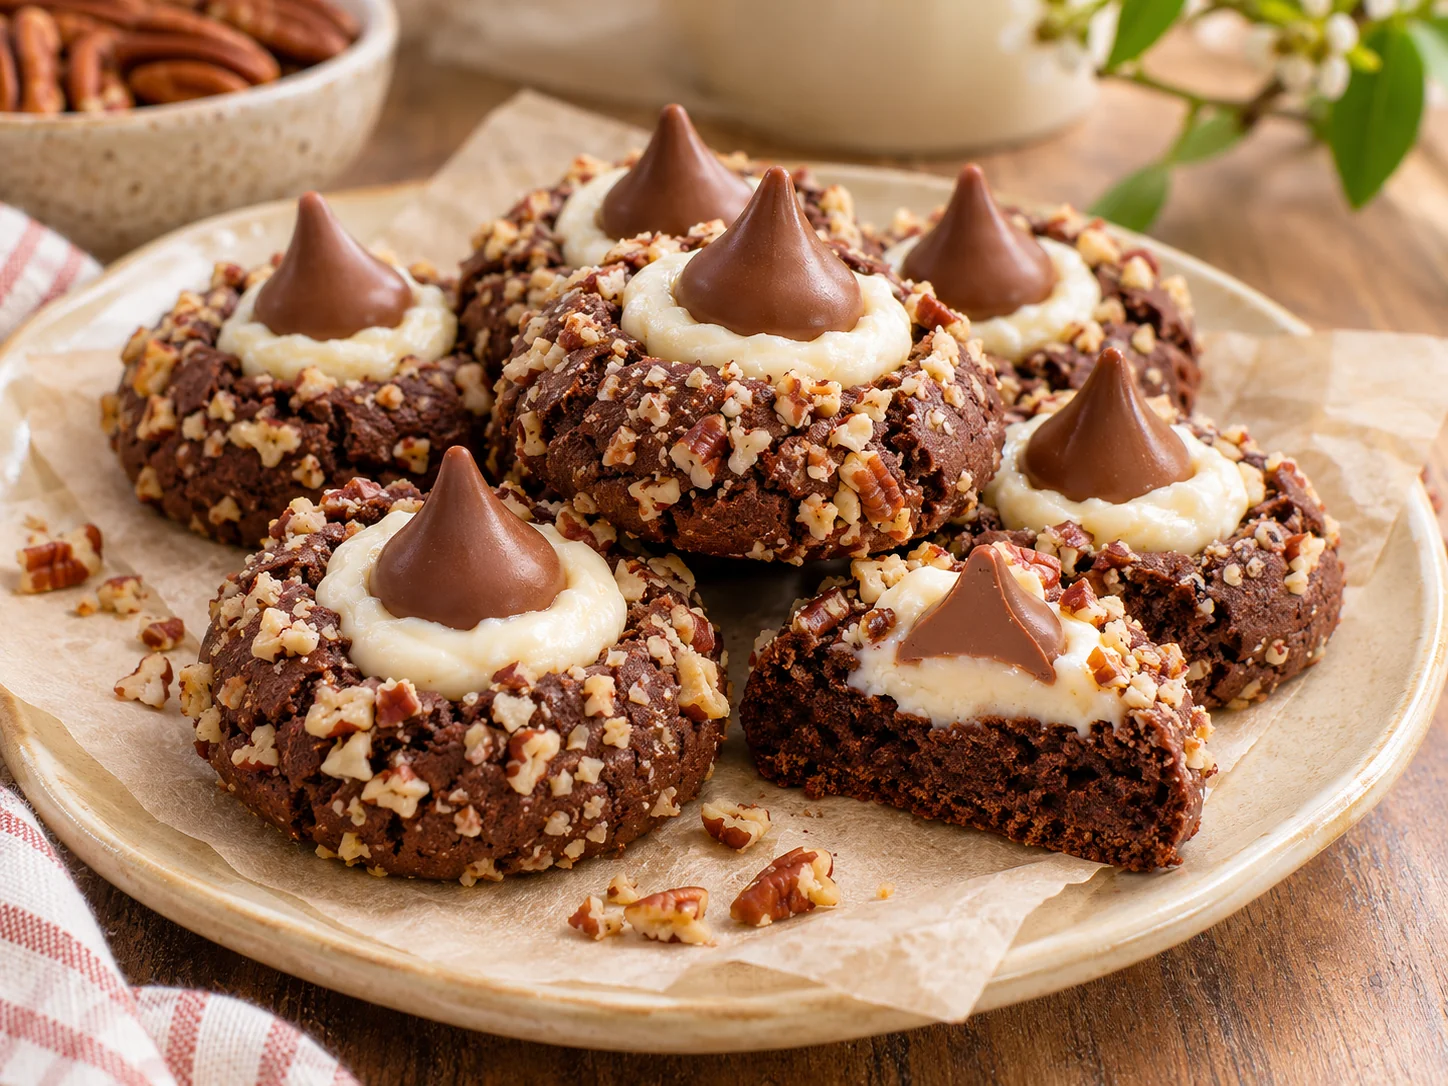
Chocolate thumbprint cookies bring together a tender cocoa dough, a crunchy coating of chopped nuts, and a sweet vanilla center. A chocolate kiss on top makes each cookie feel extra special.
Chill the dough before shaping, then press a small well into every cookie. They are a lovely addition to a holiday cookie tray, a dessert table, or a homemade gift box.
THE RECIPE
Chocolate Thumbprint Cookies
Prep25 min
Bake10–12 min
Chill1 hr
YieldAbout 24 cookies
For the Cookie Dough
For the Filling
For the Topping
Instructions
- In a medium bowl, beat the softened butter, granulated sugar, egg yolk, milk, and vanilla until fluffy. In a separate bowl, stir together the flour, cocoa powder, and salt. Gradually beat the dry mixture into the butter mixture until blended.
- Cover the dough and refrigerate for at least 1 hour, or until firm enough to handle.
- Heat the oven to 350°F (175°C). Lightly grease a cookie sheet. Shape the chilled dough into 1-inch balls. Lightly beat the egg white in a small bowl. Dip each ball in egg white, roll it in chopped nuts, and place it on the prepared sheet. Press a thumb gently into the center of each cookie.
- Bake for 10 to 12 minutes, or until the cookies are set. Meanwhile, beat the powdered sugar, softened butter, milk, and vanilla until smooth to make the vanilla filling.
- Let the cookies cool on the baking sheet for 5 minutes, then transfer them to a wire rack. Spoon about 1/4 teaspoon vanilla filling into each thumbprint. Gently press a chocolate kiss, pecan half, or candied cherry half onto each cookie. Cool completely.
Recipe Tips
- Chill the dough until firm so the balls are easy to shape and hold their form.
- Press the centers gently; if they puff during baking, carefully press them again while the cookies are still warm.
- Use chopped pecans or walnuts for the coating, and add the filling after the cookies have cooled for 5 minutes.
- Store the fully cooled cookies in an airtight container.
Recipe adapted from the vintage cookbook page supplied by the site owner; directions rewritten for clarity with AI assistance. Featured image: AI-generated food photography.